

Before drawing up the pattern for a made-to-measure dress, it is advisable to prepare the measurements and note down how each figure was obtained. The record should distinguish between body measurements, the intended ease and the final dimensions of the garment.
The necessary measurements and allowances depend on the design, fabric and finish; there are no universal figures. Here are some practical guidelines and a sample form for recording the essential details for each client.
Preparing for the measurement session
Logistics and the environment
Set aside a well-lit space and a full-length mirror. Take your measurements whilst wearing the underwear you plan to wear with the dress, or over close-fitting clothing. To check the length during the fitting, wear the shoes you plan to wear with the dress, or make a note of the heel height. Make a note of the date: a measurement taken months ago may have changed.
Tools and materials
- A flexible tape measure that is neither stretched nor misshapen.
- Elastic tape to mark the natural waistline; pins and chalk to mark adjustments during the fitting.
- A dated form with space for body measurements, ease allowances and pattern alterations.
- A camera or mobile phone to record the event, only with the client’s permission.
Measurement protocol
Mark the natural waist with an elastic tape measure. Locate the junction of the neck and shoulder, the bust points and the widest part of the hips. Use the same reference points throughout the session. The client should stand upright, in her usual posture, with her arms relaxed, unless a measurement requires a different position.
Once you have marked the reference points, measure the outlines using the horizontal tape measure. Continue by measuring the waist length and the back and shoulder widths, noting them down separately. Take the sleeve and armhole measurements only if the design requires them.
Repeat any unexpected figures. Note down the starting point and the end point, the unit and the side where applicable. For example: «from the shoulder next to the neck to the right bust point: 28 cm». This will allow you to repeat the measurement at a later appointment without changing the reference point.
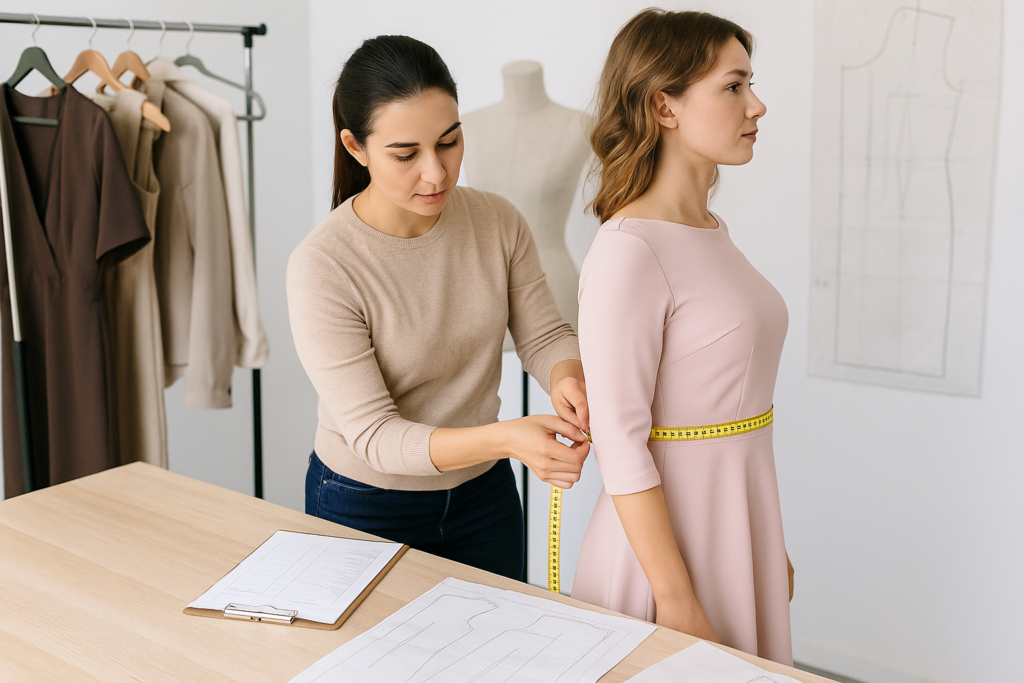
What measurements to take: body, garment and ease
Body measurements (what and how)
Record the basic measurements required for the design. The most common ones include:
- Bust, waist and hip measurements; add underbust or high hip measurements if the design requires it.
- From the shoulder near the neck to the bust point, and the distance between the two bust points, to position darts or side seams.
- Measure the front and back lengths down to the natural waist; note the point of origin for each measurement.
- Shoulder width, from one end to the other, and back width between the armhole markings: these are different measurements.
- Waist-to-hip measurement and skirt length; check the hem with the shoes you plan to wear.
- If the garment has sleeves, the sleeve length, arm circumference and armhole measurements required by the pattern.
Indicate on the form which measurements are body measurements and which relate to the garment. If there are any asymmetries that affect the fit, record each side separately.
Finished garment measurements and intended ease
Distinguish between three measurements: body measurement, total intended ease, and the measurement of the finished garment. The ease includes the space needed for movement and that required by the silhouette. Seam allowances are not included in the final measurement of the garment.
Calculate the ease per area according to the fabric, the cut and the desired fit. For example, if the bust measures 92 cm and a total ease of 6 cm is decided during the fitting, the garment’s circumference will be 98 cm. This is an example of a calculation, not a figure that applies to all dresses: check the result on a toile or during an initial fitting.
Customer profile: essential fields
- Order details: name, contact details, date, model and intended footwear, so that the length can be adjusted.
- Body measurements: measurement, unit, reference points and side (if there is any asymmetry).
- Ease and target fit: ease selected by area, intended final silhouette and fabric.
- Evidence: posture, asymmetries, marked adjustments, date and authorised photographs.
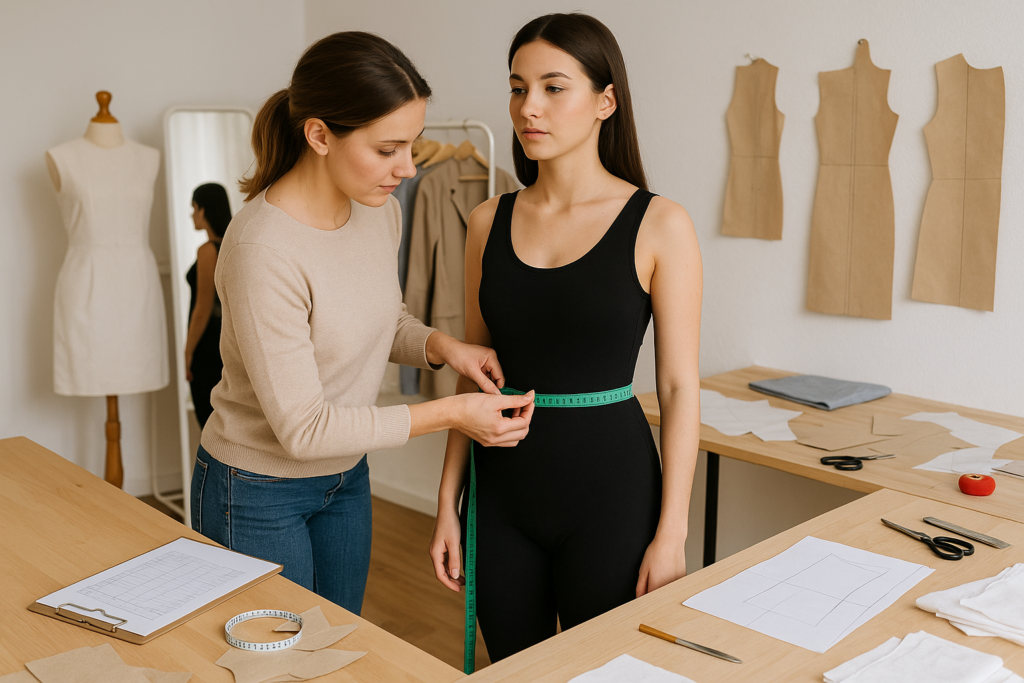
Checking figures and common errors in the test
Pre-cutting checks
Before cutting the final fabric, compare your body measurements with those of the pattern and the intended ease. Measure along the seam line, excluding seam allowances and taking darts into account. If a measurement does not match, take it again. For a fitted dress, a toile allows you to check the balance, the position of the bust and waist, and freedom of movement before cutting the final fabric.
Specific errors that can be identified in the test and how to correct them
- Underwires or side panels that are poorly positioned in relation to the bust. Mark the bust point on the toile and compare its position with the lines on the pattern. If they do not match, adjust the position of the dart or side seam; the dart should point towards the bust without ending exactly at its most prominent point. Transfer the adjustment to the pattern. Also check the front and back waist lengths before attributing the problem to a single measurement.
- The garment’s waistband is out of place. Mark the natural waist with an elastic band and check that the seam is at the same height at the front, back and sides. Check the balance of the dress; if necessary, adjust the waist length on the toile and transfer the correction to the pattern.
- Tightness or swelling in the hip. Check the outline of the garment, the side seams and how the fabric drapes. If there is not enough room, temporarily loosen the seam to work out how much to add; if there is too much, pin the excess in place. Check the fit whilst moving before altering the pattern.
- Uncomfortable shoulder straps or braces. With an off-the-shoulder dress, check where the seam falls and whether the armhole pulls or gapes away from the body. If it has straps, check their length and the balance of the neckline. Make a temporary alteration during the fitting and check how it moves before adjusting the pattern.
- The hem is uneven or the length is incorrect. With the chosen footwear in place, mark the hem whilst the customer is standing and check it all the way round the garment. Check it whilst she walks; the length and alignment must match the design before finishing off.
Quick check routine in the final test
- Balance: observe the forward, backward and lateral lean; any asymmetry in the body may require different adjustments.
- Bust: the darts or side seams must correspond to the marked bust point.
- Waist: compare the garment’s waistline with your natural waistline whilst standing in a normal posture.
- Sides and hem: check that the seams are straight and that the hem hangs as intended.
- Movement: ask the client to raise her arms, sit down and walk around to identify any areas of tension.
Measurements taken on different days may vary; it is advisable to record the date and any corrections for each test. SastrePro It allows you to view each client’s history of measurements, notes and photographs, along with their orders.